New Growth: Woodworking for Jewelry
If you aim to create unique and striking jewelry, consider adding wood to your repertoire! This beautiful, versatile, and affordable material is ideal for exploring both techniques and aesthetics. First, learn to transform found and commercial woods into wearable components using simple tools; then work one-on-one with the instructor to develop personal strategies for incorporating wood into your own jewelry practice. Jewelers of any experience level will be able to complete 1-2 finished pieces or a range of samples.
Welcome (and a confession)!
When it comes to my work, I am a big-time thief, constantly on the lookout for tools and techniques that I can adapt for jewelry purposes! In the class I will show you how I make jewelry using lessons I've learned from people who make boats, furniture, musical instruments, duck decoys, and more. If you already have your own style of jewelry-making, I'll work with you to find ways that this new material can become an integral part of your own work.
Class Supplies and Tools

Suggested:
-Safety glasses & ear protection
-Particulate dust mask (if you wear glasses the type with an exhale valve is recommended so you don't fog up)
-Sketch book, mechanical pencil
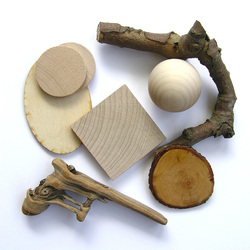
-Any appealing wood or small wooden objects (twigs, driftwood, souvenirs, game pieces, etc)
-An x-acto style handle for small blades that is comfortable for you (for example: http://xacto.com/products/cutting-solutions/knives/knives/Precision-Knife-1.aspx); I prefer plastic handles.
-Wire: 20ga or 21ga sterling if you'd like to make your own earwires (approximately 3" per pair), assorted bits of wire or tubing (sterling, copper, brass, etc) for decoration; I usually get larger quantities of sterling wire or readmade earwires from Rio Grande (riogrande.com) or small quantities from local craft supply shops
-Any other findings (chains, clasps, etc) that you normally like to use
-Pigments (watercolor, spices, old makeup, etc); for opaque surfaces my favorite paint is Testor's Model Master Acryl (http://www.testors.com/category/136645?n=0), which has an enamel-like finish and cleans up with water; we will have one jar for class use but if you would like a specific color you can buy it from a local hobby or model store or search online
-Stones: I will demonstrate a couple of ways of setting stones into wood; if you would like to try these techniques during class please bring
-Any small-scale wood-working tools you happen to have: chisels, knives, files, rasps, block plane, spokeshave, scrapers, small wood-working or utility saw, etc: THERE IS NO NEED TO BUY ANY OF THESE but you are welcome to bring anything that you have already if you'd like my help if learning how to use it for jewelry-making purposes
Extremely OPTIONAL carving tools:
Although this is not specifically a woodcarving class, I plan to demonstrate some of the tools and techniques I use to make my carved jewelry and sculptures. You will be able to do some carving with your x-acto handle and blades and I will have a few carving tools for you to share, but if carving is what you want to focus on, here's some information on tools that you can either bring to class or buy afterwards...
Shopping for Carving Tools

Choosing the right tools is a very personal decision, based on considerations such as your hand size, scale, studio situation, and budget. Adjust my recommendations to fit your own situation. And if you already have tools similar to these, great! Bring them along!
SHAPES
As a basic starting point, I recommend getting three chisels:
-a C- or U-shape (aka “sweep” or “gouge”)
-a V-shape (“parting tool” or “veiner”)
-a flat blade with either a squared-off or angled (“skew”) cutting edge
SHAPES
As a basic starting point, I recommend getting three chisels:
-a C- or U-shape (aka “sweep” or “gouge”)
-a V-shape (“parting tool” or “veiner”)
-a flat blade with either a squared-off or angled (“skew”) cutting edge
|
SIZES / STYLES
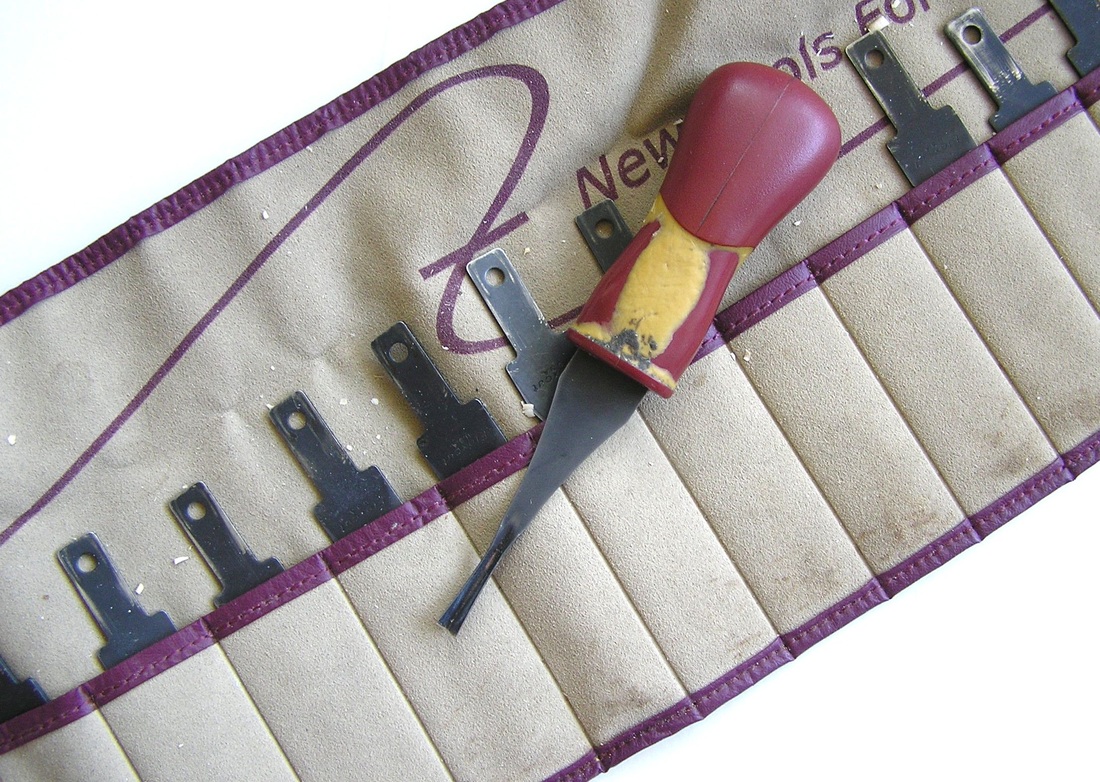
Almost any shape of tool will be available in many different sizes and handle styles. When choosing, keep in mind the size of the work you want to make, the size of your hands, and how much room you have for storing tools (handles can take up a lot of space!). BRANDS Of the many great options available, I think that the Flexcut brand offers the best balance of affordability and quality. Flexcut chisels are available either with fixed handles, or as interchangeable blades that snap into different handles; the snap-on blades take up less space so I can easily carry around one handle and 12 different blades in a small tool roll. Flexcut offers a variety of beginner kits; these are generally fine, but I were choosing my tools individually I'd get a handle and these blades (you can see them on the Tool Profile Chart pdf): SK317 45 deg. x 5/32" (4mm) Parting Tool SK407 #2 x 9/16" (15mm) Skew Double Bevel SK402 #8 x 3/8" (10mm) Sweep Another brand that I like is Dockyard; they sell sets of tiny microchisels that I use for carving details and for working with wax. SHARPENING There will be sharpening tools for you to use in class but if you plan to carve on your own some sort of sharpening system is essential. It's easy to keep Flexcuts and other small chisels sharp with the Flexcut SlipStrop. STORES I keep my eyes open for sales and have bought from many local and online sources, but Woodcraft.com is very reliable and offers a "birthday club" discount. |
My tool roll with one handle and many blades; note that I store them point down.
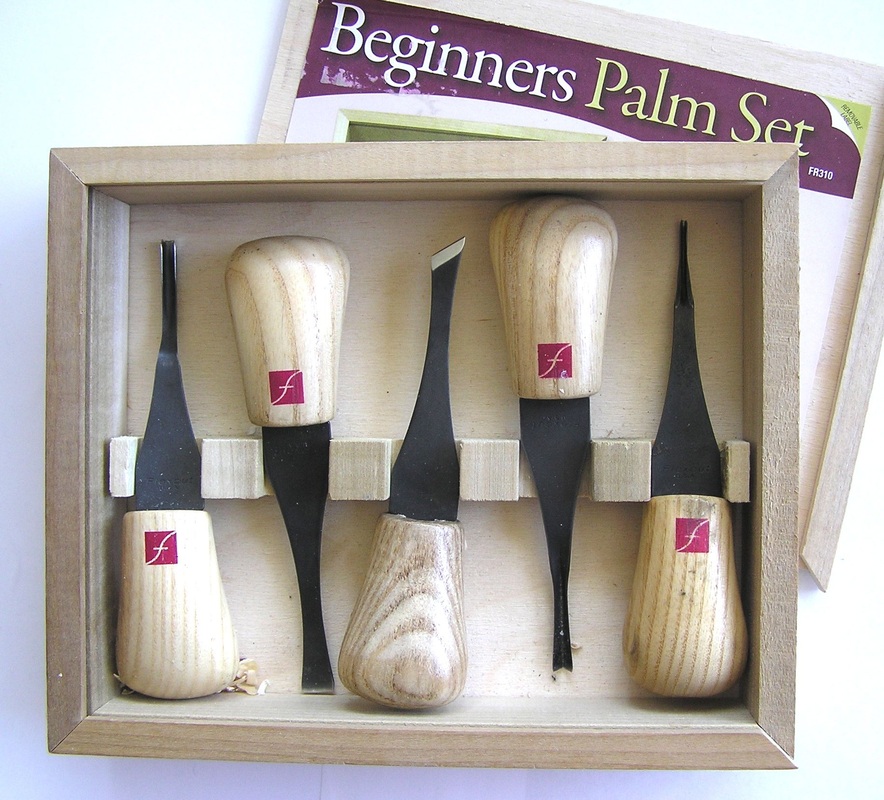
A boxed beginners set with fixed handles.
|
MY RULES OF CHISEL OWNERSHIP
1. Don't buy more than you need; start with 2-3 and grow your collection as appropriate.
2. Don't waste your money on cheap tools.
3. Treat your tolls with care: keep the ends capped or covered, never let a cutting edge touch another piece of metal!
OTHER TOOLS
Other hand tools I may introduce in class include: razor saw, adze, draw knife, drill, crooked knife, or mallet. Don’t run out and buy these, but feel free to bring any that you already have and I can explain how and when to use them.
|
© 2015 - 2023 Julia Harrison, LLC |

